Showing posts with label Practical Scrappers. Show all posts

Wednesday, March 12, 2014

March Card Sketch

Practical Scrapper's March Card Sketch by Christine Meyer


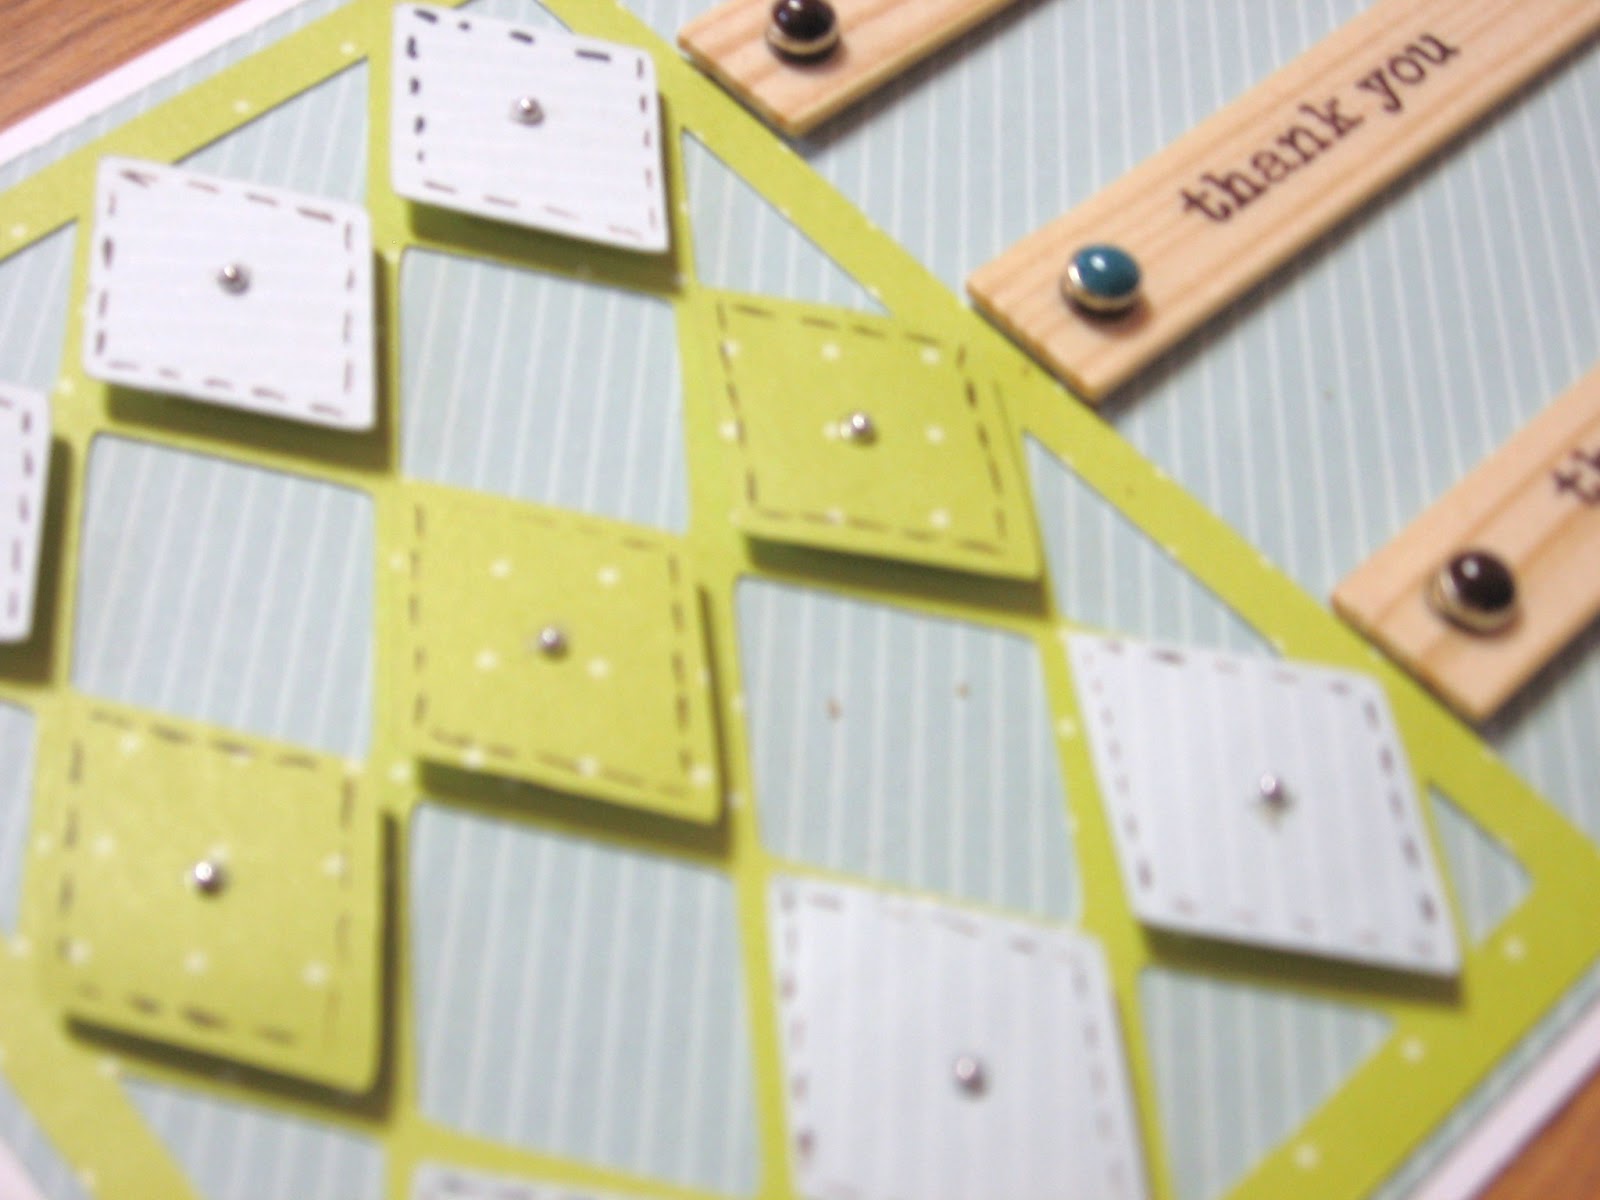
For this month's card sketch on Practical Scrappers, I chose to use a 5"x7" kraft paper card.  The design was made by using a variety of enamel dots.  I then added some bitty sparkles to fill in some of the little spaces.  The sentiment is made up of wooden words by Studio Calico.

Thanks for stopping by!  
Leslii

Friday, January 17, 2014

Frugal Finds - Book Pages

This week on Practical Scrappers, I was challenged to use book pages as a medium. I have to admit, this was a hard one for me.  I love to read and tearing up a book was brutal for me!

 As some of you may know, I have been creating a lot of home decor and other mixed media items so that is what I did this time as well.

The first project is a chipboard wall hanging that I bought at Hobby Lobby.  I simply Mod Podged pieces of the book pages to the chipboard and then trimmed the edges as close as I could with scissors.  I added the heart for a little pop of color and detail. I LOVE how it turned out and I am planning to use this as a Valentine decoration in my own home.


My second project was inspired by a Pinterest pin that my friend had pinned.  Her birthday was this week and I wanted to make her a special gift.

The book I was using had a lot of artwork in it and I knew from the beginning that I wanted to use those pages apart from the text pages.  So, that is what I did, I tore out several of the farm scene pictures and decoupaged them to a 12x12 canvas.

The words were cut using my Cricut Expression and the Plantin Schoolbook cartridge.  I have cut letters for these types of projects and I have learned that you either have to use color core cardstock or if you have white core cardstock, you may want to ink the edges for it to look right.


I hope you like these projects as much as I do.  It was hard for me to tear out those first few pages but I am more than happy with the result!  I know I will be making more projects using book pages in the future!

Thanks for looking!

Leslii


Tuesday, November 19, 2013

Christmas Canvas Decor


Hi everyone! I am here today to share a Christmas wall hanging I recently made to use as a decoration in my own home.

I had seen a sign on Pinterest that I loved using words to form a Christmas Tree and wanted to do this same sign, but with my own touches.

I started with a 12x12 canvas and then Mod Podged a 12x12 paper directly on to the canvas.  I tend to use Mod Podge quite often when making altered projects and I continue to get good results.

My next step was to cut out the words. I chose a red glitter paper and  I used my Cricut Expression and Type Candy Font cartridge.  With the Cricut set to 1 3/4", I cut the words using all capital letters.  The words then had to be placed on the canvas.  Unfortunately, due to the back of the glitter paper having such a smooth, non-absorbant back side, I couldn't use Mod Podge.  I chose to turn the letters into stickers instead using my Zyron sticker maker.  I found the center of my canvas, started with the word Christmas, and then worked my way up from there.

I wanted to do something a little special for the star so I cut another star 1/4" larger in a light gold glitter paper and then layered the red star on top.  I used the same gold paper to make a border.  I then finished my canvas by randomly adding green gems to the "tree".


I hope I am helping to get you into the Christmas spirit!

Thank you for stopping today!

Leslii

Thursday, October 24, 2013

Bella Blvd - Trick or Treat

I am trying to get into the Halloween mood so I did this layout using Bella Blvd's "too cute to spook" line for Practical Scrappers.


I fussy cut this spider and then added liquid glass and jewels for his eyes.


I used small strips of paper to act as stitching for the title.  I also outlined the orange letters and added small green jewels to make them pop.

Thanks for looking!
Leslii

Thursday, September 26, 2013

September Layout Sketch

This month's layout sketch on Practical Scrappers was made by Liz Chidester.


My take on the sketch was made using Fancy Pants Designs' Little Sport Collection.


I added stickers to the little pennants to make them more personal.


I used the small star stickers from the kit and layered brown and gray paper under them and the fussy cut them to make them appear larger.  I then popped them out to add a little more dimension.


I love the way it turned out, I just wish the pictures were better!

Thanks for looking!

Leslii


Tuesday, September 24, 2013

Ten Things Doilies

This week I was asked to use doilies for our ten things post on Practical Scrappers.  To be honest, I have never used a doily in my life and I really wasn't sure what I was going to with them.  My good friend Christine Meyer gave me a variety of sizes and shapes to chose from, and although I was unsure, I am happy with the final result!


When I received the doilies, they were pure white but I chose to add some color.  I used the color Hollyhock from Close to My Heart and simply took the ink pad and pressed it onto each doily.


The title is a chipboard accent that I have had in my stash for awhile. The "ribbon" is simply a strip of white cardstock dotted with pink Stickles.


Thank you for stopping by, I hope you like it!

Leslii


Tuesday, September 17, 2013

Practical Scrappers - 10 things Stickers

For this weeks ten things challenge on Practical Scrappers, we were asked to use stickers.  Of course there are a ton of stickers out there but it seems like we get into a rut and just throw them on a page to make less white space.  There are a ton of fun ways to change up stickers or simply use them in a different way.  Be sure and check out the Practical Scrappers blog post for more ways to use those stickers!

I started out with a layered sticker from My Mind's Eye, here you can see it as it came, fresh from the package.  As you can see, it is already super cute but I wanted to add a little more interest so I used my Close To My Heart liquid glass and added a few bits of extra detail.


 Hopefully, you can see the dots around the scalloped edge, I also filled in the heart, and added a border along the outside edge of the bottom layer. (I know it is kind of hard to see, sorry!)


Here you can see, a couple of other detail stickers from the project.  I did add liquid glass to the circle  sticker as well, but in the picture, it is hard to see.


And, this is my final product!  I love the way it turned out!  I have been decorating chipboard words for several months now, and I have to admit, this is one of my favorites!


I hope you like my project!  Thanks for looking!
Leslii

Thursday, September 12, 2013

Practical Scrappers September Card Sketch

Practical Scrappers card sketch this month was created by Patty Selah.


My take on it turned out like this:


I used Simple Stories' Smarty Pants collection that I picked up at The Scrapbooking Studio and I am quite happy with the result.  :)


Thank you for stopping by today!
Leslii

Monday, September 9, 2013

Ten Things - White Pen

Practical Scrapper's Ten Things challenge this week was to use a white pen.  

I use white pen fairly often but I almost always use it to faux stitch.  Today I used the white gel pen in a different way.  I chose to doodle on my layout.  I had a lot of fun with it and made a very busy layout of a very busy little couple.


I used the white ink to make designs on the background and to journal on the page.


I cut the title on my Cricut Expression and I added a few fun elements for dimension.  The paper is all from Simple Stories Smarty Pants collection, I bought it at The Scrapbooking Studio and it is all super cute!


This is my final product.  I have to admit, it was a bit of a reach for my comfort zone but I love the way it turned out, almost as much as I love these two kiddos!

Thanks for looking!
Leslii

Friday, August 23, 2013

Practical Scrappers/Paper Secrets Blog Hop

Welcome to the Practical Scrappers/Paper Secrets Blog Hop!  We are so excited to have you here today!
For this blog hop we are featuring the Ten Things Team from Practical Scrappers and members from the Design Team at Paper Secrets. Our topic for this hop is a fun, trendy one that will definitely catch your attention: wood! We have a collection of wood goodies from Paper Secrets to give away and you can get all the details on that below!

My project is based around some adorable wooden sentiments from Jilly Bean Soup.  I found them when I was shopping at my favorite scrappy store The Scrapbooking Studio in Bloomington.

I have had a thing with Studio Calico's Sundrifter Collection so once again, I am using paper from that line.


The argyle was cut using my Cricut and the Wild Card cartridge.  The brads are by Paper Studio.  I finished with some brown faux stitching and silver embellishments.

I hope this has inspired you to be on the look out for cute wood embellishments to try on your next project!

If you are going in order, your next stop will be Kelli Fortier -

Blog Hop List
Leslii Wagner *you are here*


Here's what you can win from Paper Secrets!

You can do any or all of the following to get entered:
1) Be a follower here at Practical Scrappers
2) Be a follower at the Paper Secrets Blog
5) Leave us a comment here telling us which of those you did :)

You have until 11:59 PM CST on Sunday, August 25th to enter.  A winner will be announced early next week!

Thanks for stopping by!  
Leslii

Tuesday, August 20, 2013

10 Things Eyelets

I know I have been kind of MIA lately, sorry about that.  There is so much end of Summer craziness around here between the kids ready for school, work, showing goats, and last minute trips, sometimes crafting unfortunately is put on the back burner.

This week though, I was asked to do a project for Practical Scrappers using eyelets.  I have used eyelets in the past but it had been a long time and I wanted to do something I had never done before.  

I have been loving altered projects the last few months so I decided to do another.  This week I worked on a recipe box using a premade box and paper from Studio Calico's Sundrifter Collection that I picked up at The Scrapbooking Studio, in Bloomington, IL.

I first cut a strip of paper to fit along the edge of the box and then added a border of silver eyelets.  I then Hodge Podged the paper to the box and followed by covering the rest of the box.

It turned out like this...


This box will soon be used on my kitchen counter.  I hope you are inspired to use eyelets in your next project!  Thanks for looking!

Leslii


Friday, August 2, 2013

Premade Flowers

The 10 things challenge on Practical Scrappers this week was using premade flowers.  

I made an 8x10 sign for my friend who was married last year and recently moved into a new house.

I started with a blank 8" by 10" canvas and used two different shades of brown ink to distress the edges of both the canvas and the paper I would be attaching to the canvas.  

The paper background is an adorable paper from Studio Calico's Sun Drifter Collection. 

The letters were cut on my Cricut using the Type Candy Font cartridge.

And then, of course is the flower.  I chose a natural canvas flower.  I then frayed the edges a bit and used the chocolate ink to add some brown to the canvas.  The flower was still plain so I used a small premade tule flower and a chocolate brown button to add a little interest to the center.  


I am loving the small block letters that are popular right now so I used them to add the family name and established year to the sign.


I am happy with how it turned out and my friend and her husband really seemed to like it too - that is what mattered most to me!

Thanks for checking out my blog today!

Leslii

Friday, July 26, 2013

10 things letter stickers

Another Practical Scrapper challenge for me this week was to use letter stickers in a unique way.  I decided to use the negative of the letter stickers because I normally just throw those away.

I fussy cut around the outline of the negative and then placed the stickers onto coordinating cardstock.  I also fussy cut the cardstock around parts of the letters for each word.


The background paper is from Echo Park's A Perfect Summer line that I picked up at The Scrapbooking Studio in Bloomington, IL and the polka dots are done with a small circle punch and clear paint.

Thanks for stopping by!

Leslii


Wednesday, July 24, 2013

White, Royal Blue, and Emerald Green

This week on Practical Scrappers, I was asked to do a layout using Royal Blue, Emerald Green, and White.  This is the layout I finally came up with.


The background was done by taking royal blue cardstock then cutting it in graduated strips and attaching them to a white all to a white background.  All of the embellishments are by Studio Calico and I used an emerald green marker as well as some emerald green stones to add some color.

Thank you for taking a look today!

Leslii

Wednesday, July 3, 2013

Red White and Blue Card

Today's assignment at Practical Scrappers was to use red, white, and blue.  Who doesn't love that color combination?  I chose to do a card with some left over supplies I already had from previous projects I had done for The Scrapbooking Studio in Bloomington.


The card was made using a combination of products from BoBunny and Echo Park.  I simply added some white cardstock and combined the products to make a simple card for a friend.

Thanks for stopping by!
Leslii

Star Wall Hanging

I made this somewhat rustic wall hanging to put on top of my kitchen cabinets.  Practical Scrappers was challenging me to use stars this week and boy did I use a lot of stars!


I started with a 12"x12" canvas.  

The next layer was a piece of paper from American Crafts Mayberry Collection that I picked up at The Scrapbooking Studio in Bloomington.  

I then cut out an 11" star using my Cricut and the Plantin SchoolBook Cartridge set on RolyPoly.  The small stars are also a patterned paper from the Mayberry Collection.  I used both sides of a single sheet and cut out 1 inch stars.  After adhering the small stars to the large stars, I added stitching using a white gel pen.

I finished the project with a "frame", brown sititching, and brads in the corners.

Thank you for looking!
Leslii

Tuesday, June 11, 2013

Dad Sack Card

This weeks 10 Things post for Practical Scrappers was to incorporate a bag in some way 
on our layout or card.

I had found some mini sacks by The Paper Studio a while back that I knew 
would be perfect for this challenge!

I started with a 5" x 7" card and matted it with navy blue cardstock.  I then used BoBunny's Family Is... line for most of the rest of my card.  The yellow polka dot paper was cut to fit, the other embellishments are all cardstock cutouts from BoBunny that I picked up at The Scrapbooking Studio in Bloomington.  I love the color combinations from this line!

The mini sack is just the right size for a gift card to be slipped in for Dad.


Please leave a comment or follow my blog to let me know what you think!

Thanks for looking!

Leslii


Thursday, June 6, 2013

June's Card Sketch

Today I am sharing June's card sketch for Practical Scrappers.


The card sketch was made by Practical Scrapper Patty.


I started with a simple 5x7 kraft card.  All of the patterned paper and 
embellishments are from BoBunny's Family Is...  collection.  

Thanks for looking!

Leslii

Tuesday, April 16, 2013

Hexagon Card

Hexagons are a popular trend in the scrapbooking world right now and Practical Scrappers challenged me to use them on a project this week.  

I chose to make a flower out of hexagons that I cut with my Cricut Expression and Accent Essentials cartridge.  The hexagons are actually cut with 5 hexagons inside one another but I only used two of the five pieces to create these flower petals.

I also used a hexagon embossing folder and my Cuttlebug to emboss the craft background.  I then added stitching to the design to make it stand out.


Thanks for looking!  I hope I have inspired you to use hexagons somewhere in one or two of your projects!


Tuesday, April 9, 2013

Writing with baker's twine

As part of the Practical Scrappers design team, I was challenged this week to do something with baker's twine.  I decided to use the twine to write the word "hello" on a simple, any occasion card.


I started with a plain white card.  I then added a lavender mat cut about a 1/4 inch smaller on each side than the card. The bird paper is by The Paper Studio and again cut about a 1/4 inch smaller than the mat.  The white stripe is a white scrap of cardstock cut the same length as the bird paper.

The sentiment is first matted with lavender cardstock. I then used a scrap of brown metallic cardstock cut about a 1/4 inch smaller on each side and used a punch to round the corners.

"hello" was first written on a piece of paper, and then covered in waxed paper.  I then wet the twine with watered down white glue and traced the written word with the twine. After drying, I used glue to attach it to the cardstock.  

I finished the card off with some stitching, and some small embellishments.