Showing posts with label home decor. Show all posts

Saturday, January 25, 2014

Life is better...

Although I don't work outside of my home, my boys usually go to a sitter one day per week.  I am lucky enough to have a close friend that is able to watch them on that day.  My boys love her and she is amazing with them!  So, for Christmas, I wanted to make her a little something special  and this is what I ended up with...
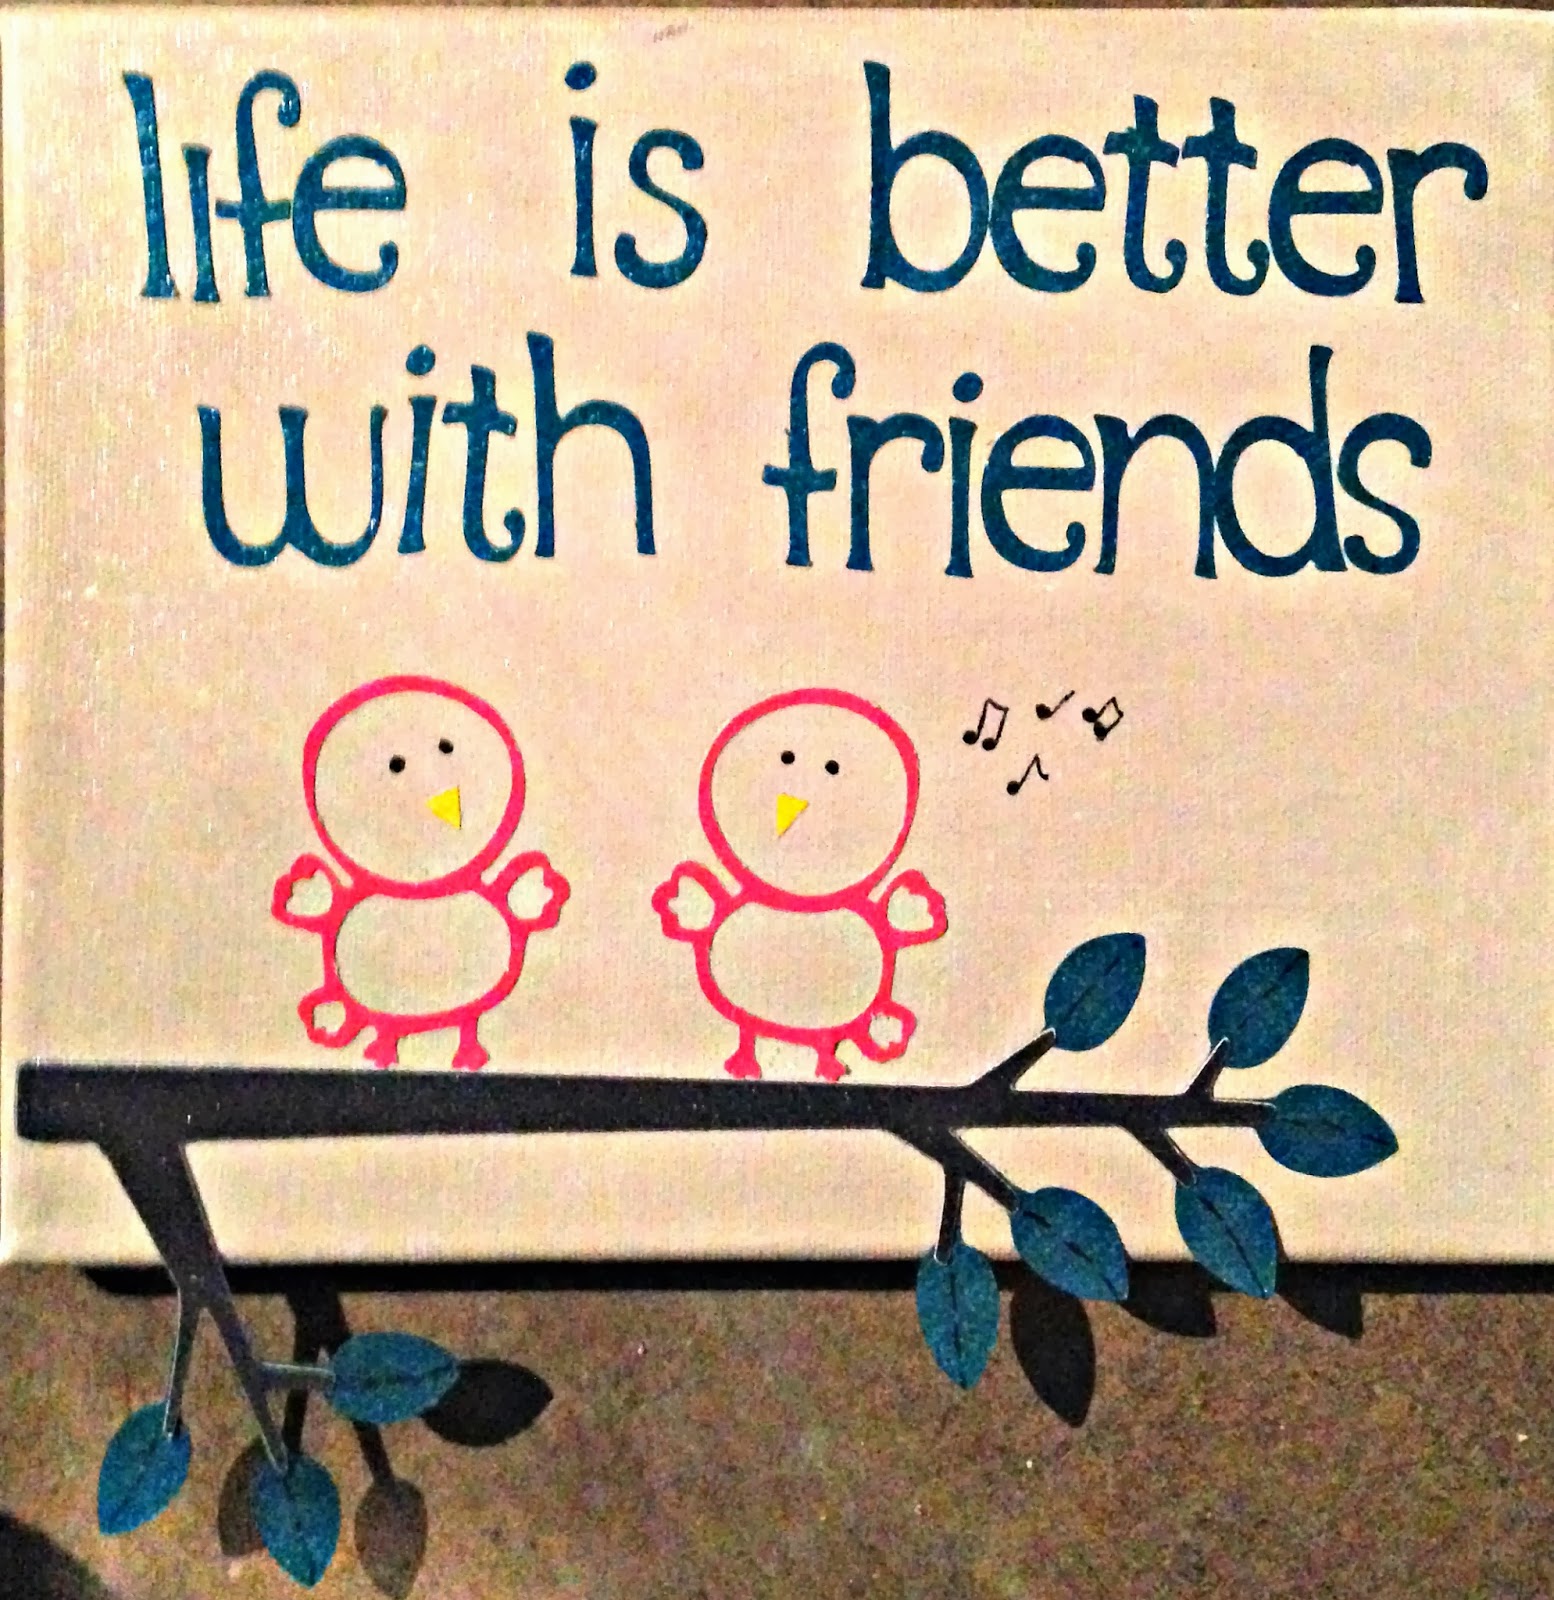

First, I used a gray spray ink to add a little bit of color to the canvas so that it wasn't such a stark white.  I sprayed it in a couple of places and then rubbed the entire canvas down with a rag to spread it out and dry it off.  

The letters, birds, and branch were all cut out using my Cricut Expression and then glued on to the canvas. For the letters, I used the Alphalicious font.  I finished the wall hanging off with a thin layer of Mod Podge.

When the ModPodge dried, I used a fine tipped marker to draw on the music notes and birds' eyes.

Thanks for stopping by, 
Leslii

Friday, January 17, 2014

Frugal Finds - Book Pages

This week on Practical Scrappers, I was challenged to use book pages as a medium. I have to admit, this was a hard one for me.  I love to read and tearing up a book was brutal for me!

 As some of you may know, I have been creating a lot of home decor and other mixed media items so that is what I did this time as well.

The first project is a chipboard wall hanging that I bought at Hobby Lobby.  I simply Mod Podged pieces of the book pages to the chipboard and then trimmed the edges as close as I could with scissors.  I added the heart for a little pop of color and detail. I LOVE how it turned out and I am planning to use this as a Valentine decoration in my own home.


My second project was inspired by a Pinterest pin that my friend had pinned.  Her birthday was this week and I wanted to make her a special gift.

The book I was using had a lot of artwork in it and I knew from the beginning that I wanted to use those pages apart from the text pages.  So, that is what I did, I tore out several of the farm scene pictures and decoupaged them to a 12x12 canvas.

The words were cut using my Cricut Expression and the Plantin Schoolbook cartridge.  I have cut letters for these types of projects and I have learned that you either have to use color core cardstock or if you have white core cardstock, you may want to ink the edges for it to look right.


I hope you like these projects as much as I do.  It was hard for me to tear out those first few pages but I am more than happy with the result!  I know I will be making more projects using book pages in the future!

Thanks for looking!

Leslii


Tuesday, November 19, 2013

Christmas Canvas Decor


Hi everyone! I am here today to share a Christmas wall hanging I recently made to use as a decoration in my own home.

I had seen a sign on Pinterest that I loved using words to form a Christmas Tree and wanted to do this same sign, but with my own touches.

I started with a 12x12 canvas and then Mod Podged a 12x12 paper directly on to the canvas.  I tend to use Mod Podge quite often when making altered projects and I continue to get good results.

My next step was to cut out the words. I chose a red glitter paper and  I used my Cricut Expression and Type Candy Font cartridge.  With the Cricut set to 1 3/4", I cut the words using all capital letters.  The words then had to be placed on the canvas.  Unfortunately, due to the back of the glitter paper having such a smooth, non-absorbant back side, I couldn't use Mod Podge.  I chose to turn the letters into stickers instead using my Zyron sticker maker.  I found the center of my canvas, started with the word Christmas, and then worked my way up from there.

I wanted to do something a little special for the star so I cut another star 1/4" larger in a light gold glitter paper and then layered the red star on top.  I used the same gold paper to make a border.  I then finished my canvas by randomly adding green gems to the "tree".


I hope I am helping to get you into the Christmas spirit!

Thank you for stopping today!

Leslii

Tuesday, September 17, 2013

Practical Scrappers - 10 things Stickers

For this weeks ten things challenge on Practical Scrappers, we were asked to use stickers.  Of course there are a ton of stickers out there but it seems like we get into a rut and just throw them on a page to make less white space.  There are a ton of fun ways to change up stickers or simply use them in a different way.  Be sure and check out the Practical Scrappers blog post for more ways to use those stickers!

I started out with a layered sticker from My Mind's Eye, here you can see it as it came, fresh from the package.  As you can see, it is already super cute but I wanted to add a little more interest so I used my Close To My Heart liquid glass and added a few bits of extra detail.


 Hopefully, you can see the dots around the scalloped edge, I also filled in the heart, and added a border along the outside edge of the bottom layer. (I know it is kind of hard to see, sorry!)


Here you can see, a couple of other detail stickers from the project.  I did add liquid glass to the circle  sticker as well, but in the picture, it is hard to see.


And, this is my final product!  I love the way it turned out!  I have been decorating chipboard words for several months now, and I have to admit, this is one of my favorites!


I hope you like my project!  Thanks for looking!
Leslii

Tuesday, August 20, 2013

10 Things Eyelets

I know I have been kind of MIA lately, sorry about that.  There is so much end of Summer craziness around here between the kids ready for school, work, showing goats, and last minute trips, sometimes crafting unfortunately is put on the back burner.

This week though, I was asked to do a project for Practical Scrappers using eyelets.  I have used eyelets in the past but it had been a long time and I wanted to do something I had never done before.  

I have been loving altered projects the last few months so I decided to do another.  This week I worked on a recipe box using a premade box and paper from Studio Calico's Sundrifter Collection that I picked up at The Scrapbooking Studio, in Bloomington, IL.

I first cut a strip of paper to fit along the edge of the box and then added a border of silver eyelets.  I then Hodge Podged the paper to the box and followed by covering the rest of the box.

It turned out like this...


This box will soon be used on my kitchen counter.  I hope you are inspired to use eyelets in your next project!  Thanks for looking!

Leslii


Friday, August 2, 2013

Premade Flowers

The 10 things challenge on Practical Scrappers this week was using premade flowers.  

I made an 8x10 sign for my friend who was married last year and recently moved into a new house.

I started with a blank 8" by 10" canvas and used two different shades of brown ink to distress the edges of both the canvas and the paper I would be attaching to the canvas.  

The paper background is an adorable paper from Studio Calico's Sun Drifter Collection. 

The letters were cut on my Cricut using the Type Candy Font cartridge.

And then, of course is the flower.  I chose a natural canvas flower.  I then frayed the edges a bit and used the chocolate ink to add some brown to the canvas.  The flower was still plain so I used a small premade tule flower and a chocolate brown button to add a little interest to the center.  


I am loving the small block letters that are popular right now so I used them to add the family name and established year to the sign.


I am happy with how it turned out and my friend and her husband really seemed to like it too - that is what mattered most to me!

Thanks for checking out my blog today!

Leslii

Monday, June 17, 2013

Washi Tape Decor

Hello, All!  This week's Practical Scrapper challenge for the 10 Things Team 
was to make something using Washi Tape.

I chose to use Washi Tape to cover a chipboard word.  I took the bare chipboard word "LOVE" and simply lined up the tape to cover it while keeping the pattern.

This is how it turned out after adding a few butterfly embellishments.


I hope you like it!

Thanks for looking!

Leslii