Showing posts with label The Scrapbooking Studio. Show all posts

Monday, September 9, 2013

Ten Things - White Pen

Practical Scrapper's Ten Things challenge this week was to use a white pen.  

I use white pen fairly often but I almost always use it to faux stitch.  Today I used the white gel pen in a different way.  I chose to doodle on my layout.  I had a lot of fun with it and made a very busy layout of a very busy little couple.


I used the white ink to make designs on the background and to journal on the page.


I cut the title on my Cricut Expression and I added a few fun elements for dimension.  The paper is all from Simple Stories Smarty Pants collection, I bought it at The Scrapbooking Studio and it is all super cute!


This is my final product.  I have to admit, it was a bit of a reach for my comfort zone but I love the way it turned out, almost as much as I love these two kiddos!

Thanks for looking!
Leslii

Friday, August 23, 2013

Practical Scrappers/Paper Secrets Blog Hop

Welcome to the Practical Scrappers/Paper Secrets Blog Hop!  We are so excited to have you here today!
For this blog hop we are featuring the Ten Things Team from Practical Scrappers and members from the Design Team at Paper Secrets. Our topic for this hop is a fun, trendy one that will definitely catch your attention: wood! We have a collection of wood goodies from Paper Secrets to give away and you can get all the details on that below!

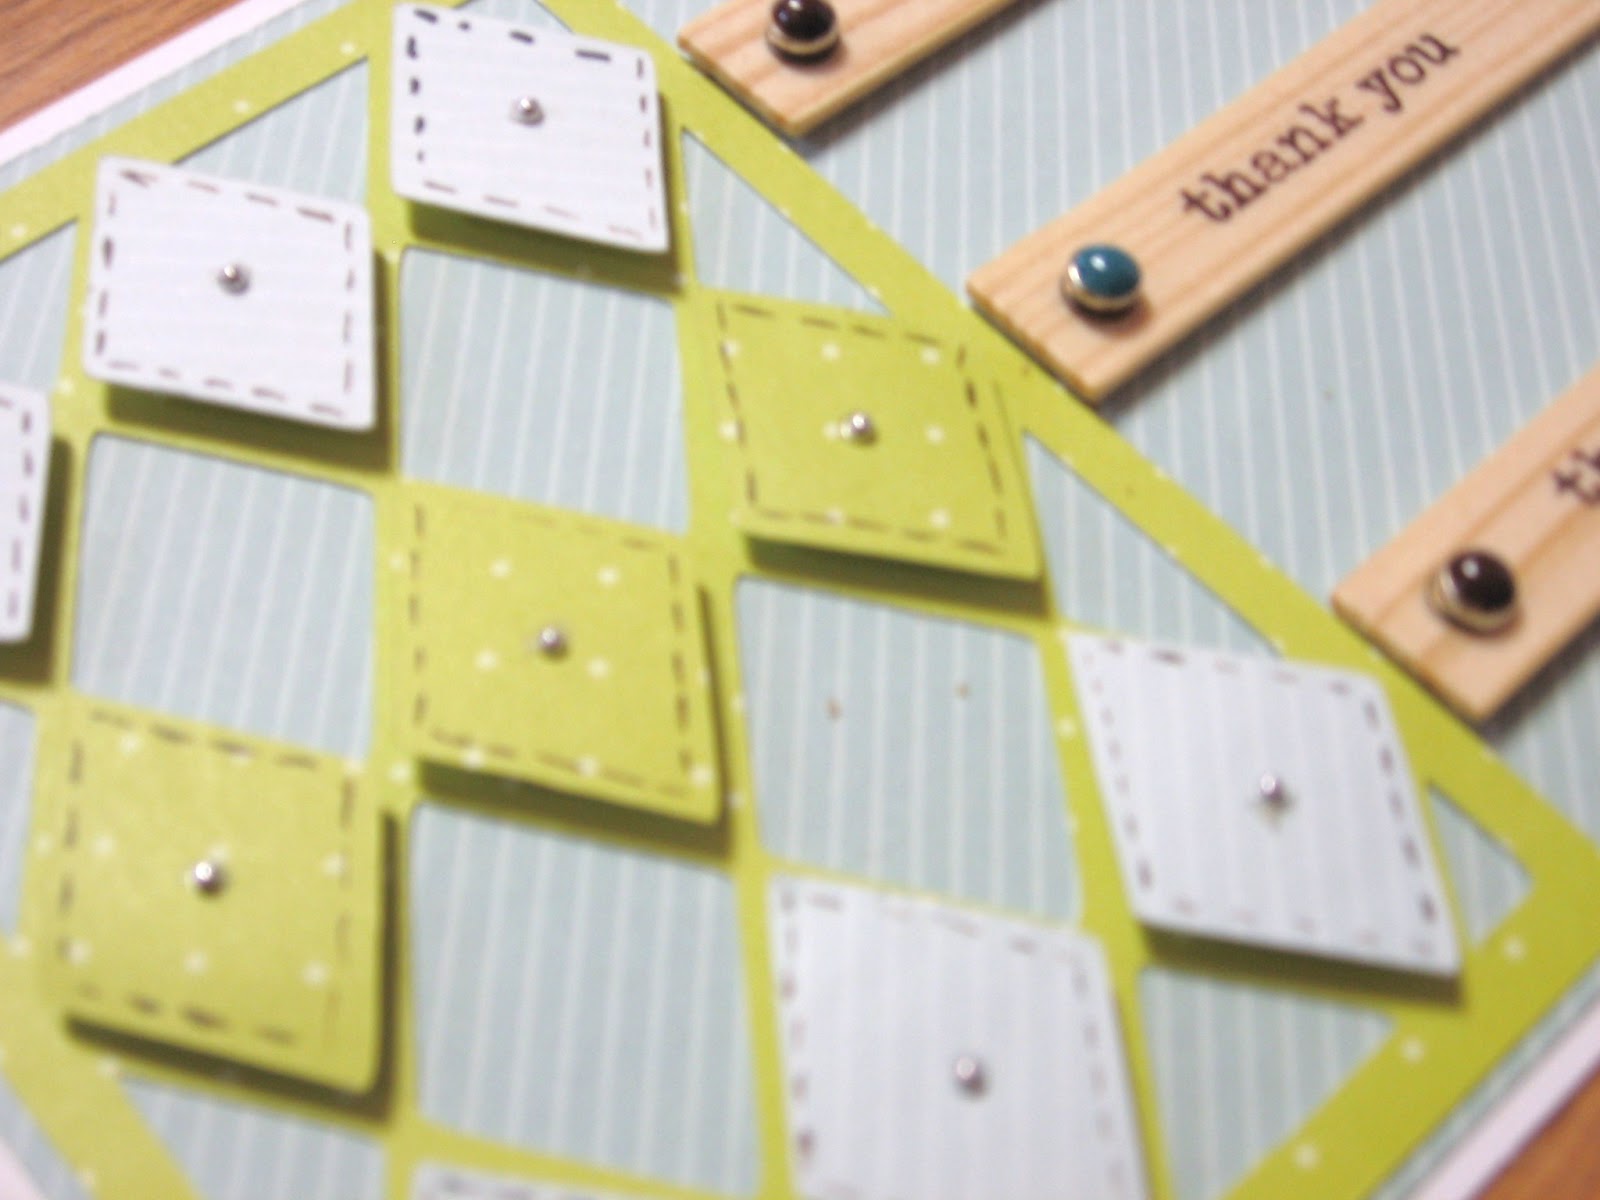
My project is based around some adorable wooden sentiments from Jilly Bean Soup.  I found them when I was shopping at my favorite scrappy store The Scrapbooking Studio in Bloomington.

I have had a thing with Studio Calico's Sundrifter Collection so once again, I am using paper from that line.


The argyle was cut using my Cricut and the Wild Card cartridge.  The brads are by Paper Studio.  I finished with some brown faux stitching and silver embellishments.

I hope this has inspired you to be on the look out for cute wood embellishments to try on your next project!

If you are going in order, your next stop will be Kelli Fortier -

Blog Hop List
Leslii Wagner *you are here*


Here's what you can win from Paper Secrets!

You can do any or all of the following to get entered:
1) Be a follower here at Practical Scrappers
2) Be a follower at the Paper Secrets Blog
5) Leave us a comment here telling us which of those you did :)

You have until 11:59 PM CST on Sunday, August 25th to enter.  A winner will be announced early next week!

Thanks for stopping by!  
Leslii

Tuesday, August 20, 2013

10 Things Eyelets

I know I have been kind of MIA lately, sorry about that.  There is so much end of Summer craziness around here between the kids ready for school, work, showing goats, and last minute trips, sometimes crafting unfortunately is put on the back burner.

This week though, I was asked to do a project for Practical Scrappers using eyelets.  I have used eyelets in the past but it had been a long time and I wanted to do something I had never done before.  

I have been loving altered projects the last few months so I decided to do another.  This week I worked on a recipe box using a premade box and paper from Studio Calico's Sundrifter Collection that I picked up at The Scrapbooking Studio, in Bloomington, IL.

I first cut a strip of paper to fit along the edge of the box and then added a border of silver eyelets.  I then Hodge Podged the paper to the box and followed by covering the rest of the box.

It turned out like this...


This box will soon be used on my kitchen counter.  I hope you are inspired to use eyelets in your next project!  Thanks for looking!

Leslii


Friday, July 26, 2013

Echo Park's A Perfect Summer

This month I was given a super cute line to work with for The Scrapbooking Studio
 - Bloomington's design team.

I always love what Echo Park puts out but this was definitely my favorite line thus far!

First up are two one page layouts of my girls and our friends swimming...


I incorporated a lot of the different patterns from the line for this layout.  I also used some of the cute chipboard stickers to embellish.


For this one, I used three different patterned papers from the line and cut them into strip for the background.  The frame around the photo was made by weaving all of the little strips from the bottoms of the paper, I loved that I found a way to use those!


This card was made using several stickers from the collection.  I used a small circle punch to cut out different colors of "fruit" to give the tree an extra pop of color.

Next up is my altered project...  I used a 5x7 photo mailer and turned it into a fun Summer home decoration.


Each 5x7 was decorated individually using a letter that I cut on my Cricut, as well as chipboard embellishments, stickers, and some doodling.


On some pages, I also added stitching.


On a couple, I used letter stickers to spell out things my family does in the Summertime to make a border along the top edge.


A few gems were added here and there too.


And all together, it looks like this!


I am very pleased with the way this turned out and I hope you are inspired by it too!

Thanks for looking!

Leslii


10 things letter stickers

Another Practical Scrapper challenge for me this week was to use letter stickers in a unique way.  I decided to use the negative of the letter stickers because I normally just throw those away.

I fussy cut around the outline of the negative and then placed the stickers onto coordinating cardstock.  I also fussy cut the cardstock around parts of the letters for each word.


The background paper is from Echo Park's A Perfect Summer line that I picked up at The Scrapbooking Studio in Bloomington, IL and the polka dots are done with a small circle punch and clear paint.

Thanks for stopping by!

Leslii


Wednesday, July 3, 2013

Red White and Blue Card

Today's assignment at Practical Scrappers was to use red, white, and blue.  Who doesn't love that color combination?  I chose to do a card with some left over supplies I already had from previous projects I had done for The Scrapbooking Studio in Bloomington.


The card was made using a combination of products from BoBunny and Echo Park.  I simply added some white cardstock and combined the products to make a simple card for a friend.

Thanks for stopping by!
Leslii

Star Wall Hanging

I made this somewhat rustic wall hanging to put on top of my kitchen cabinets.  Practical Scrappers was challenging me to use stars this week and boy did I use a lot of stars!


I started with a 12"x12" canvas.  

The next layer was a piece of paper from American Crafts Mayberry Collection that I picked up at The Scrapbooking Studio in Bloomington.  

I then cut out an 11" star using my Cricut and the Plantin SchoolBook Cartridge set on RolyPoly.  The small stars are also a patterned paper from the Mayberry Collection.  I used both sides of a single sheet and cut out 1 inch stars.  After adhering the small stars to the large stars, I added stitching using a white gel pen.

I finished the project with a "frame", brown sititching, and brads in the corners.

Thank you for looking!
Leslii

Tuesday, June 11, 2013

Dad Sack Card

This weeks 10 Things post for Practical Scrappers was to incorporate a bag in some way 
on our layout or card.

I had found some mini sacks by The Paper Studio a while back that I knew 
would be perfect for this challenge!

I started with a 5" x 7" card and matted it with navy blue cardstock.  I then used BoBunny's Family Is... line for most of the rest of my card.  The yellow polka dot paper was cut to fit, the other embellishments are all cardstock cutouts from BoBunny that I picked up at The Scrapbooking Studio in Bloomington.  I love the color combinations from this line!

The mini sack is just the right size for a gift card to be slipped in for Dad.


Please leave a comment or follow my blog to let me know what you think!

Thanks for looking!

Leslii


Friday, April 5, 2013

My Mind's Eye - My Girl

This month I am privileged to start my stint as a designer with the The Scrapbooking Studio in Bloomington. As my first assignment, I was lucky to work with My Mind's Eye's My Girl line.  I was a little nervous at first,  wondering what in the world I was going to do with all of these busy papers.  But, the truth is, once I started, I loved them!  They are so fun to work with!

First up, I did this card.  the background is a craft-core cardstock that I embossed with my Cuttlebug and then  lightly sanded to bring out the hexagon pattern.  All of the embellishments are from the My Girl collection, I simply strung a piece of  orange and white baker's twine through the button holes.


Second is a one page layout.  The background is a piece of gray cardstock that I sprayed with pink mist.  The ruffles along the bottom are simply punched circles that I layered.  The camera cut out is just one of the many adorable cut outs in this line.


This one paged layout was done my using a few different patterned papers from the line.  I cut the chevron paper to make a fun border.  The bicycle is from the many chipboard pieces available.  The butterflies are actually white that I misted gray and added a piece of baker's twine for color.


This was the most fun for me.  I started with a raw chipboard sign and then covered it with paper using Mod Podge and then added a bunch of adorable My Girl embellishments.


I am really happy with the way these turned out.  I wasn't sure I would be able to hang with the awesome designers at The Scrapbooking Studio, but I think I did okay.  ;)

My last post was also from the My Girl line, check it out!